A cursor effect is the most performance-sensitive animation on a page, because it is tied directly to the visitor’s hand. Any delay between moving the mouse and seeing the response feels like the site is broken. Here is how to keep custom cursor effects smooth on real devices.
Understand the frame budget
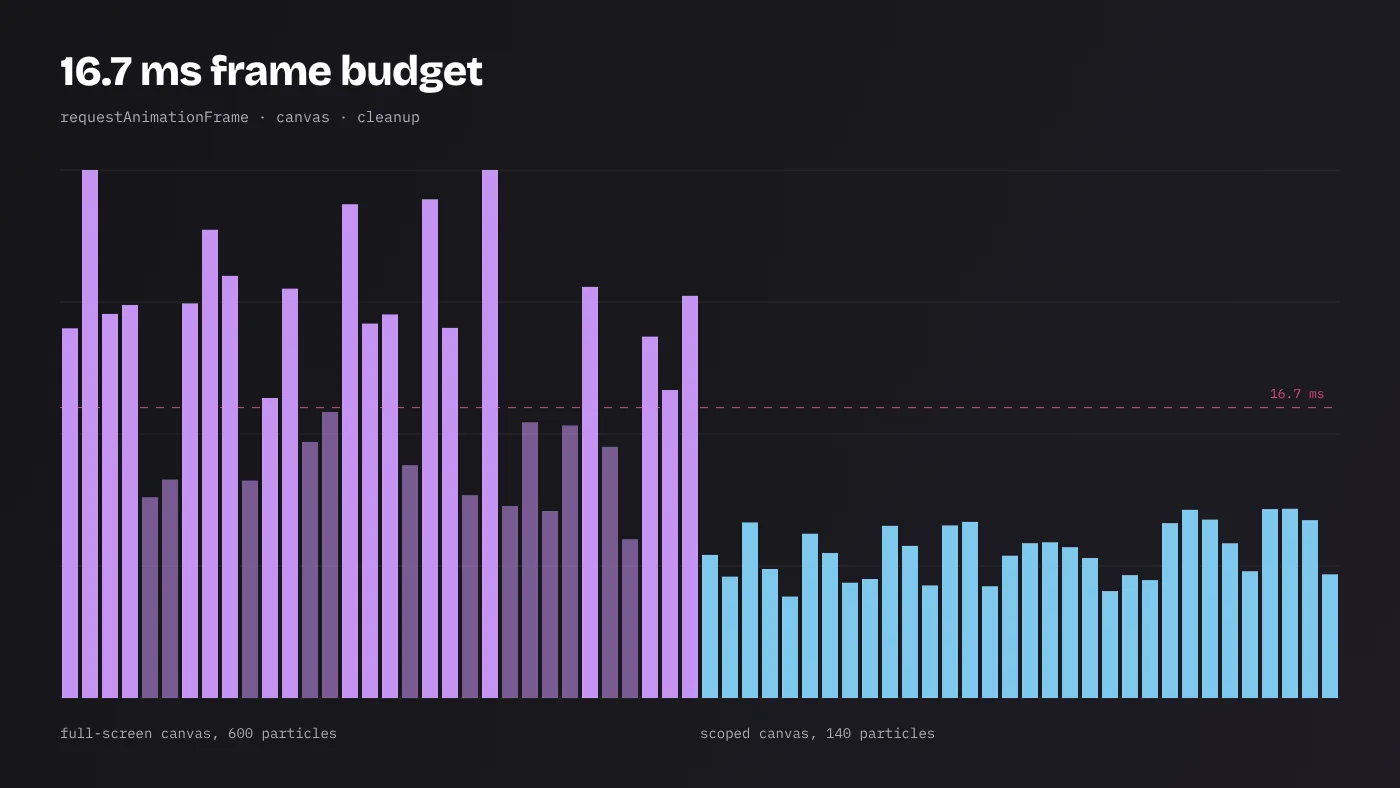
A display refreshing at 60 Hz shows a new frame every 16.7 milliseconds. In that window the browser must run your JavaScript, recalculate styles, lay out the page if needed, paint and composite. In practice, scripts should finish in well under 10 ms to leave room for the rest. On 120 Hz displays — common on recent laptops and phones — the budget halves to about 8.3 ms.
Miss the budget occasionally and the browser drops a frame, which shows as a stutter. Miss it constantly and the cursor effect lags visibly behind the real pointer. Because the pointer itself is drawn by the operating system at full speed, any lag in the effect is obvious by comparison.
Rule 1: Drive everything with requestAnimationFrame
Pointer events can fire far more often than the screen refreshes — gaming mice report at 1000 Hz. Drawing on every pointermove wastes work on frames nobody sees. Instead, store the latest coordinates in the event handler and draw once per frame:
let x = 0, y = 0, id = 0;
const onMove = e => { x = e.clientX; y = e.clientY; };
const tick = () => { draw(x, y); id = requestAnimationFrame(tick); };
window.addEventListener('pointermove', onMove, { passive: true });
id = requestAnimationFrame(tick);
// cleanup
cancelAnimationFrame(id);
window.removeEventListener('pointermove', onMove);
Every effect in the Cursor Custom gallery follows this pattern. When you adapt one, keep the cleanup. A loop left running after a component unmounts keeps burning CPU, and if the component mounts again you end up with two loops drawing two cursors.
Rule 2: Size the canvas to the job
A full-screen canvas on a 4K display at device pixel ratio 2 is over 33 million pixels per clear. Most cursor effects only need to cover the area where they are visible. The gallery scopes each canvas to its preview container for this reason, which saves both GPU memory and fill cost.
- Use a container-sized canvas whenever the effect only appears in one section, such as a hero.
- Cap device pixel ratio at 2:
Math.min(devicePixelRatio, 2). Higher ratios add cost with little visible benefit for soft particles. - Resize the canvas on window resize, not on every frame.
- Clear only the region you drew on when possible, instead of the full canvas.
Rule 3: Limit particles and pool them
Particle effects scale with count. Every particle costs a position update and a draw call each frame.
| Device class | Comfortable particle count | Notes |
|---|---|---|
| Recent desktop with dedicated GPU | 400–800 | Still keep glow and shadow modest |
| Typical laptop, integrated graphics | 150–300 | The sensible default for public sites |
| Older or low-power laptops | 60–120 | Detect via frame timing and scale down |
Two habits make a large difference. First, enforce a hard cap: when the array is full, recycle the oldest particle instead of adding a new one. Second, avoid creating new objects every frame. Reusing a fixed pool of particle objects reduces garbage collection pauses, which otherwise appear as random hitches every few seconds.
Rule 4: Choose cheap drawing operations
Canvas operations do not cost the same.
shadowBluris expensive. It is the most common cause of slow glow effects, especially in Safari. Fake glow with a pre-rendered radial gradient sprite drawn withdrawImage, or apply blur only to a few large elements.- Batch by colour. Changing
fillStylefor every particle adds overhead. Group particles of the same colour and fill them in one path. - Avoid text drawing in hot loops. Effects like Text Orbiter can pre-render characters to small offscreen canvases.
- Prefer
globalAlphaover building rgba strings. String creation for every particle adds garbage.
Rule 5: Let CSS and the compositor do the work
Not every cursor needs a canvas. A follower ring is a single element whose position changes every frame. If you move it with transform: translate3d(), the browser can composite it on the GPU without re-laying out the page. Moving it with left and top forces layout work every frame.
- Animate only
transformandopacityfor DOM-based cursors. - Use
will-change: transformon the moving element, and only on that element. The gallery applies it to transition-heavy elements; applying it everywhere wastes GPU memory. - Never read layout properties such as
getBoundingClientRect()inside the frame loop after writing styles. That forces synchronous layout. Read first, then write.
Effects like Magnetic and Gravity Pull need element positions. Measure those positions on resize and scroll, cache them, and use the cache inside the loop.
Rule 6: Stop when nobody is watching
- Off-screen: use an
IntersectionObserverto pause the loop when the effect’s section scrolls out of view. - Idle pointer: when particles have faded and the mouse is still, stop scheduling frames. Restart on the next
pointermove. Our own homepage hero trail works this way, so it uses no CPU when you are not moving the mouse. - Background tabs: browsers throttle
requestAnimationFramein hidden tabs, but listening forvisibilitychangelets you also pause timers and audio.
Rule 7: Respect device and user signals
Performance is also about not running effects where they do not belong:
const ok = matchMedia('(pointer: fine)').matches
  && !matchMedia('(prefers-reduced-motion: reduce)').matches;
Touch devices have no hovering pointer, so pointer-following effects add work with little benefit. Visitors who request reduced motion should not get trails at all. Both checks cost nothing and remove the heaviest work from the devices most likely to struggle.
How to measure, step by step
- Open Chrome DevTools, Performance panel.
- In the capture settings, choose CPU: 4× slowdown to simulate a modest laptop.
- Click record, move the mouse continuously through the effect for five seconds, stop.
- Check the Frames track for red or yellow frames, and the summary for scripting versus rendering time.
- Enable Paint flashing from the Rendering panel to confirm only the cursor area repaints.
- Repeat in Safari’s Web Inspector timeline if you serve many Mac or iPhone visitors.
Set a target and write it down: for example, “average scripting under 4 ms per frame at 4× throttling.” A number turns “it feels fine on my machine” into a standard the whole team can check.
Adaptive quality
For heavier effects, measure real frame times in the first second and adjust automatically:
let frames = 0, start = performance.now();
function probe(t) {
  frames++;
  if (t - start < 1000) return requestAnimationFrame(probe);
  if (frames < 50) config.count = Math.round(config.count * 0.5);
}
requestAnimationFrame(probe);
This simple probe halves the particle count if the device cannot sustain about 50 frames per second. Visitors on fast machines get the full effect; others get a lighter version that still feels smooth.
Quick reference by effect type
| Effect family | Main cost | First optimisation |
|---|---|---|
| Particle trails (Particle, Fire, Bubble) | Particle count, glow | Cap count, replace shadowBlur with sprites |
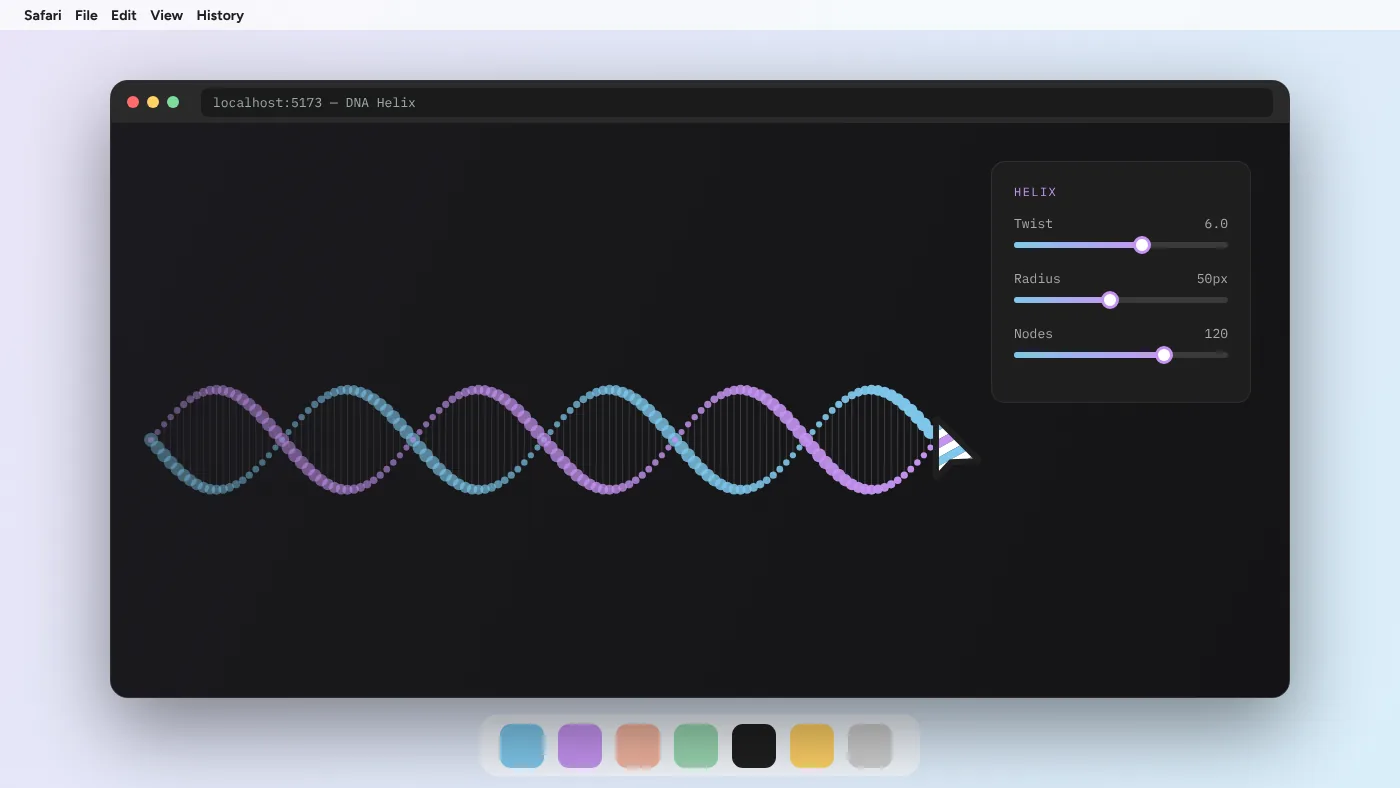
| Line graphs (Constellation, DNA Helix) | Distance checks between points | Limit node count, use a spatial grid |
| Rings and followers (Elastic, Neon) | Layout if positioned wrongly | Move with transform only |
| DOM fields (Magnetic, Gravity) | Reading element positions | Cache rects on resize and scroll |
| Full-page overlays (Spotlight, Torch) | Large gradient repaints | Update a CSS custom property, not a canvas |
| DOM clones (Fluid Glass) | Cloned element count | Clone the smallest container possible |
A pre-launch performance checklist
- The effect mounts only on the pages and sections where it is wanted.
- It starts only when
(pointer: fine)matches and reduced motion is off. - All drawing runs inside one
requestAnimationFrameloop. - The loop stops when the effect is idle, off-screen or unmounted.
- Canvas size matches its container, with device pixel ratio capped at 2.
- Particle count has a hard cap and objects are reused.
- No
shadowBluron per-particle draws. - DOM-based cursors move with
transformonly. - Average frame time stays within budget at 4× CPU throttling in Chrome.
- The page has been checked in Safari and Firefox as well as Chrome.
Pin this list next to your cursor library’s README. Ten quick checks before launch prevent the slow, laggy pointer that makes visitors leave.
Memory matters too
Frame time is the headline metric, but memory leaks cause slow degradation that frame tests miss. Open Chrome’s Memory panel, take a heap snapshot, navigate in and out of a page with the effect ten times, then take another. If detached canvas elements or event listeners keep growing, cleanup is incomplete. The gallery’s double cleanup pattern — cancelling the animation frame and removing every window listener on unmount — exists precisely to keep this graph flat. Keep it intact in your adapted code, and test it whenever you change how an effect mounts.
The payoff
A custom cursor that keeps up with the hand feels like part of the operating system. One that lags feels like a gimmick, no matter how pretty it is. Treat the 16.7 ms frame as a fixed budget, spend it carefully, and stop spending it when nobody is looking. The 24 effects in the Cursor Custom gallery give you a strong starting point; these rules keep them fast once they leave the gallery and meet your visitors’ real devices.