A custom cursor for Chrome can live in two places: inside an extension that changes what you see, or inside a website that changes what every visitor sees. They solve different problems, and choosing the wrong one is the most common mistake people make.
How Chrome draws a cursor in the first place
Chrome does not own the mouse pointer. The operating system draws it, and Chrome only asks for a particular shape — arrow, hand, text beam — based on the CSS cursor property of whatever element sits under the mouse. A web page can request a custom image with cursor: url(pointer.png) 4 4, auto, where the two numbers mark the hotspot, the exact pixel that clicks.
Everything beyond that static image is JavaScript. A trail, a spring ring, a magnetic button: these are elements or canvas drawings that follow the coordinates Chrome reports in pointermove events. Understanding this split explains why extensions and site effects behave so differently.
Route 1: Cursor extensions
Extensions from the Chrome Web Store — Sweezy cursors and its many alternatives are the best-known examples — inject a stylesheet into the pages you visit. That stylesheet sets cursor: url(...) on the page so your chosen image replaces the default arrow and hand.
What extensions do well
- Zero code. Pick a pack, click, and the pointer changes.
- Personal taste. Huge libraries of themed images, from cartoon characters to minimal outlines.
- Works across sites. One setting applies to most pages you browse.
Where extensions stop
- Only you see it. Nobody visiting your website sees the cursor you picked.
- Restricted pages. Chrome blocks extensions from injecting into
chrome://pages, the Web Store itself and some other protected pages, so the pointer flips back to the default there. - Static images. CSS cursors cannot animate in Chrome, so most extension cursors are fixed images. Any “animated” effect needs extra scripts on every page.
- Permissions. Changing the cursor on every site requires permission to read and change data on all websites. That is a broad permission; choose well-reviewed extensions and remove ones you no longer use.
Route 2: Effects built into your own site
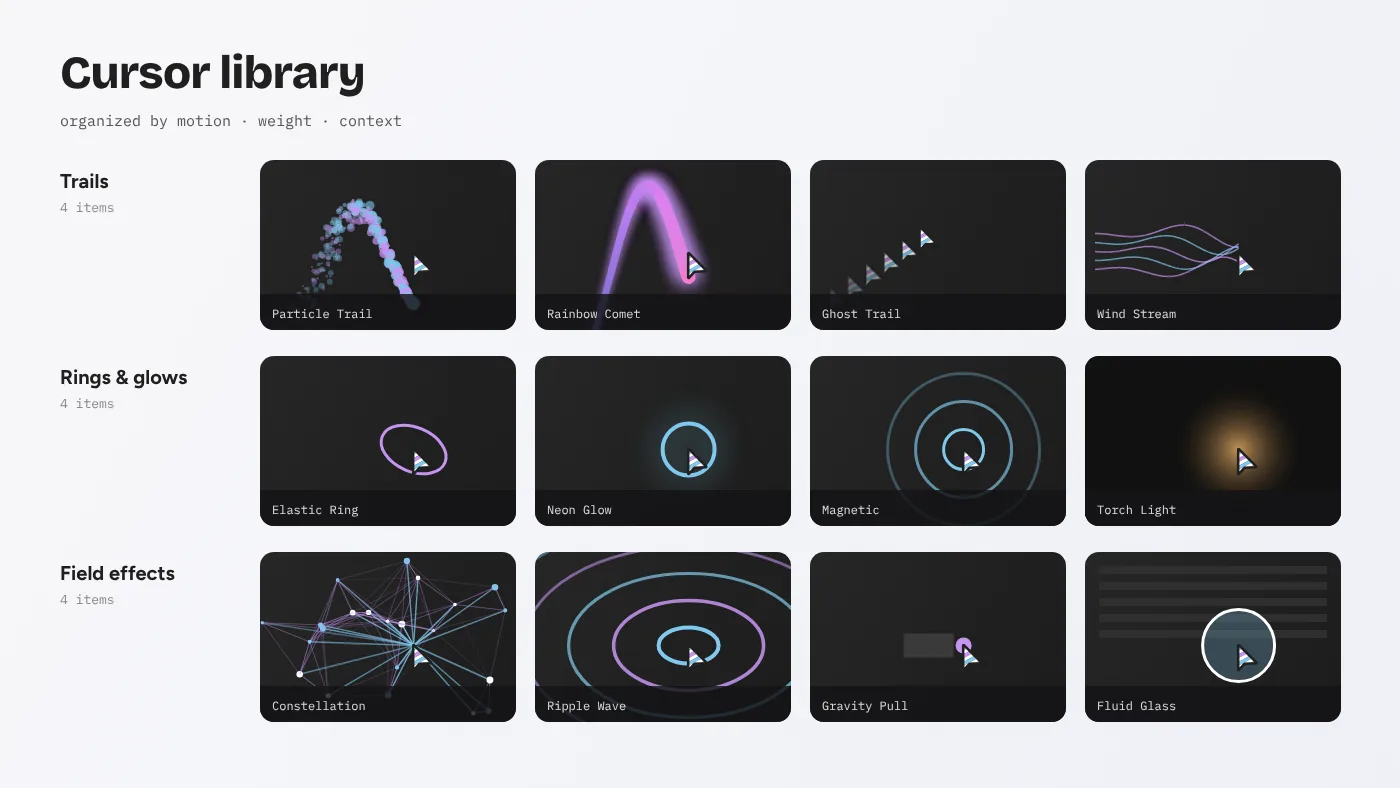
If you run a website, the more interesting option is code that ships with your pages. That is what the Cursor Custom package provides: 24 interactive effects, written as React components and hooks, that you can test in a local gallery and then copy into a project. Every visitor using Chrome — and Edge, Firefox and Safari — sees the effect automatically, with nothing to install.
Testing effects in Chrome
- Install Node.js 18 or newer.
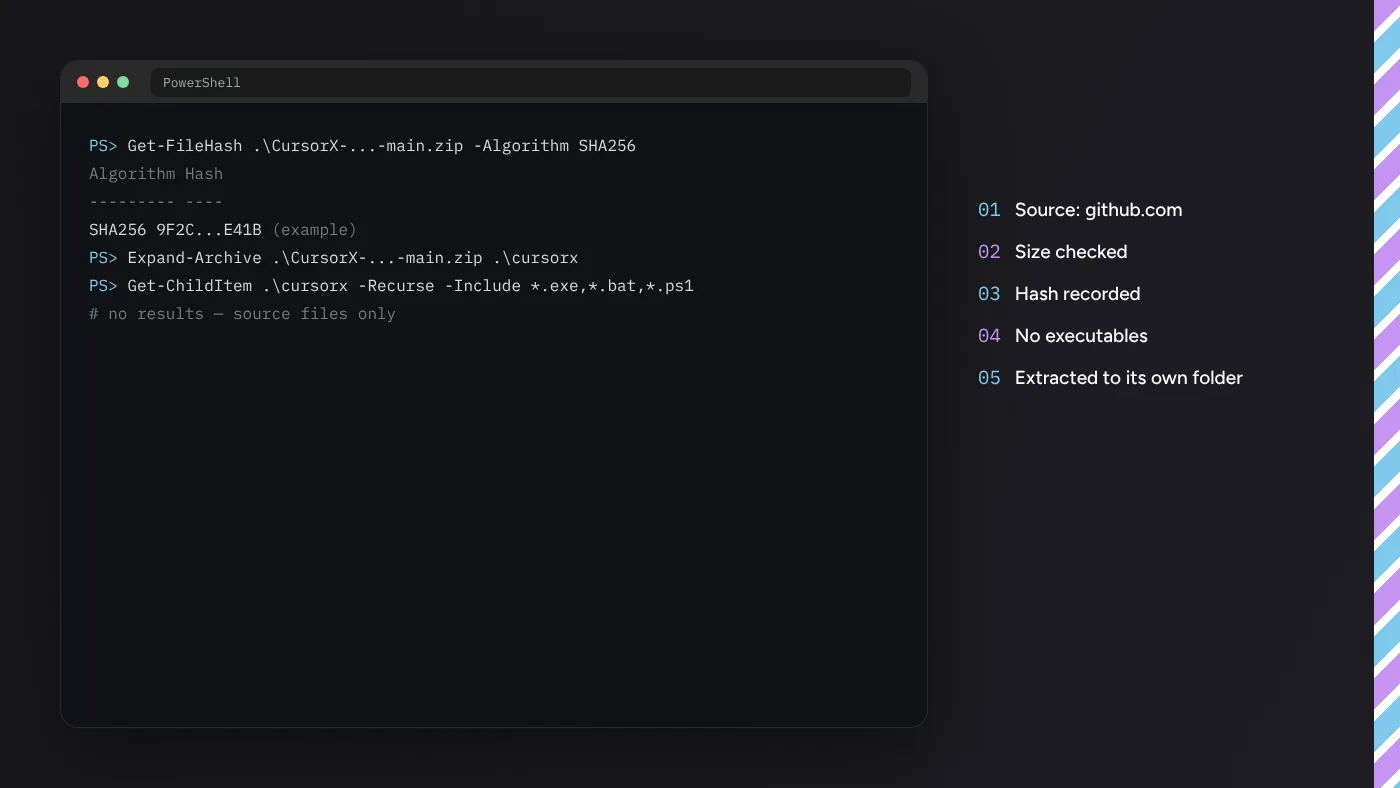
- Download and extract the ZIP from the download page.
- Run
npm installand thennpm run devin the extracted folder. - Open
http://localhost:5173in Chrome.
Using localhost rather than your machine’s network IP is important in Chrome. The gallery’s copy button relies on the Clipboard API, which Chrome only allows on secure contexts: https pages and localhost.
Chrome DevTools tricks for cursor work
Chrome is the best browser for building cursor effects because its DevTools expose exactly what you need.
Measure frame cost
Open DevTools with F12, go to the Performance panel and record while you move the mouse across the effect for five seconds. Each frame appears as a block on the timeline. At 60 Hz the budget is about 16.7 ms per frame; if the yellow scripting blocks plus purple rendering blocks regularly exceed that, the effect will feel sticky.
See repaints
Press Ctrl + Shift + P, type “Show Rendering” and enable Paint flashing. Green rectangles show regions Chrome repaints. A well-built cursor effect repaints only its own canvas, not the whole page. If the entire viewport flashes on every movement, something in the layout is being invalidated.
Simulate slower machines
In the Performance panel’s settings, set CPU: 4× slowdown. If an effect stays smooth at 4× throttling, it will be fine on almost any visitor’s laptop.
Test reduced motion
In the Rendering panel, set Emulate CSS media feature prefers-reduced-motion to reduce. Your site should switch heavy effects off or replace them with a calm alternative when this is active.
Which Cursor Custom effects suit Chrome best?
All 24 effects render in current Chrome. Some techniques are particularly strong there:
| Effect | Technique | Why it shines in Chrome |
|---|---|---|
| Difference Blend | CSS mix-blend-mode | Composited on the GPU with no script per frame |
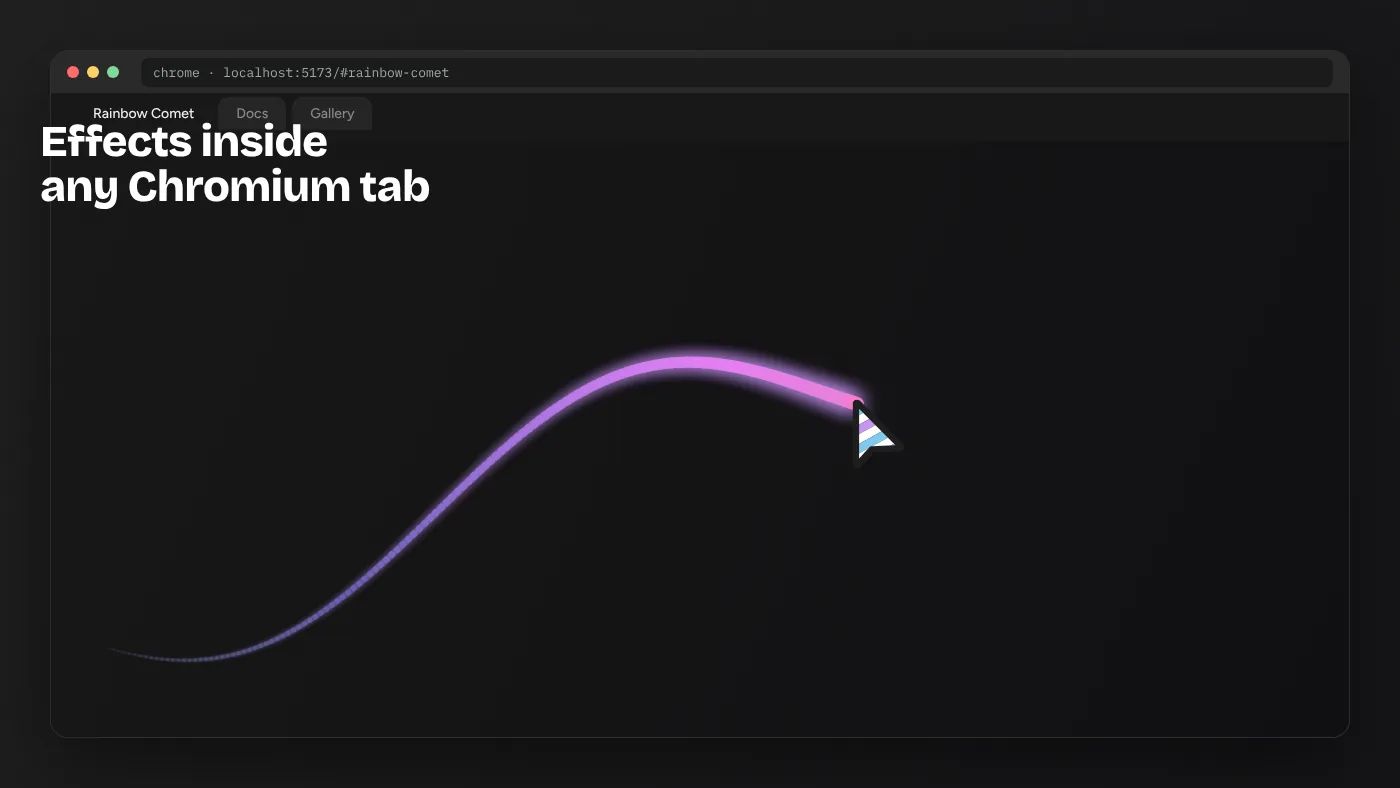
| Rainbow Comet | Canvas with HSL cycling | Fast 2D canvas path rendering |
| Morphing Blob | SVG gooey filter on DOM elements | Filter effects are hardware accelerated |
| Fluid Glass | Scaled DOM clone | Reliable transform compositing |
| Constellation | Canvas line graph | Handles many short strokes efficiently |
Shipping an effect to Chrome users responsibly
Once an effect is in your site, it runs on visitors’ machines, so treat it like any other feature with a cost.
- Gate it to fine pointers. Wrap initialisation in
matchMedia('(pointer: fine)')so phones and tablets skip it. - Respect reduced motion. Check
matchMedia('(prefers-reduced-motion: reduce)')before starting any trail. - Keep the real pointer on interactive elements. If an effect hides the system cursor, restore it over links, inputs and buttons so people always know what is clickable.
- Pause when hidden. Chrome throttles
requestAnimationFramein background tabs, but your code should still stop loops when the effect’s container leaves the viewport. - Clean up. Return a cleanup function from
useEffectthat cancels the frame and removes listeners. The gallery’s components already do this; keep it when you adapt them.
Can you combine an extension and a site effect?
Yes, and it is worth testing. If you browse with a cursor extension and visit a site using a Cursor Custom effect, the extension sets the pointer image while the site draws its animation around it. Effects that keep the native pointer visible, such as Elastic Ring and Particle Trail, show your extension’s image at the centre. Effects that hide the native pointer replace it entirely on that site. Designers should test both states, because some visitors will arrive with an extension active.
Adding a gallery effect to a Chrome-targeted site
Suppose your audience mostly browses with Chrome and you want Neon Glow on a landing page. The workflow from gallery to production looks like this:
- Tune in the gallery. Open the Neon Glow slide, adjust size, glow radius and colour until it fits your brand, and note the values.
- Copy the source. Click View Code and copy the component or hook into a file such as
src/cursors/NeonGlow.jsxin your project. - Pass your values. Render it inside the section where it should appear, passing the tuned numbers as the config prop.
- Scope it. Mount the effect only on the landing page, not in the global layout, so every other page keeps the native pointer.
- Guard it. Wrap the mount in a check for fine pointers and reduced motion.
- Measure in Chrome. Record a Performance trace at 4× CPU throttling and confirm frames stay inside budget.
Treat the copied code as yours from that point. Add comments explaining the tuned values and keep the MIT license notice in your project’s licenses file.
Chrome on other systems: ChromeOS, Android and Edge
Chrome runs on more than Windows and Mac, and visitors may arrive from any of these:
- ChromeOS: Chromebooks render canvas effects well, though entry-level models have modest GPUs. Keep particle counts at the lower end and test with the trackpad.
- Android: Chrome on phones reports touch, not a hovering pointer. Pointer-following effects should switch off; a tap-triggered effect like Ripple Wave can still work as click feedback.
- Microsoft Edge: Edge is built on the same Chromium engine, so everything in this guide applies equally. Its DevTools are nearly identical.
- Brave, Opera, Vivaldi: also Chromium-based and behave the same, although privacy settings in some can block scripts on unfamiliar pages during testing.
Because all Chromium browsers share one rendering engine, testing in Chrome covers a large share of desktop visitors in one pass. You still need a separate check in Safari and Firefox for the rest.
Common Chrome-specific issues
- Effect frozen in a background tab: expected. Chrome pauses animation frames in hidden tabs to save power; the effect resumes when you return.
- Cursor flickers between custom and default: usually a CSS
cursor: nonerule applied to some elements but not others. Apply it to a single container and restore cursors on interactive children. - Copy button fails on a network address: open the gallery on
localhost, or serve it over https. - Effect looks blurry on a high-density display: make sure the canvas multiplies its size by
devicePixelRatio.
Privacy considerations for cursor extensions
Because a cursor extension needs to modify every page you open, it technically has the ability to read those pages too. Reputable extensions do not abuse this, but the permission is broad, so treat it like any other powerful add-on. Check the extension’s listing for the developer’s identity, a privacy policy and recent updates. Review the site access setting in chrome://extensions: Chrome lets you limit an extension to specific sites or to run only when you click it. A cursor theme restricted to “on click” loses some convenience but gains a lot of privacy. Coded effects on your own site avoid the question entirely for your visitors, since they install nothing and grant nothing.
Making the decision
Ask a single question: who should see the cursor?
- If the answer is “just me, on every site I visit,” a reputable Chrome extension is the simplest route.
- If the answer is “everyone who visits my site,” the cursor belongs in your site’s code, and the Cursor Custom gallery gives you 24 starting points with tuning controls and source.
The two are not competitors. An extension is a personal theme; a coded effect is part of a product’s interaction design. Chrome happens to be an excellent environment for both — and its DevTools make it the right place to tune an effect before it reaches anyone else.
Comparing image packs and coded effects in more depth? Read Sweezy cursors vs interactive cursor effects.